Maximize Your Painting Workflow with Cabinet Door Hangers, Drying Racks, and Painting Brackets
Painting cabinet doors can transform a kitchen or bathroom, but the project quickly becomes frustrating when you run out of safe places to put wet doors. A cabinet door painting hanger, a reliable paint drying rack, and a set of sturdy painting brackets solve that problem by keeping doors elevated, separated, and easy to reach. Instead of leaning wet panels against walls or balancing them on sawhorses, you can create a professional-level drying system that protects the finish and speeds up the entire job.
Whether you are a DIY homeowner refreshing a single cabinet or a professional painter handling a full kitchen, the right hanging and drying setup makes the process cleaner, safer, and more efficient. This guide explains how these three tools work together, what to look for, and how to set up a workspace that keeps your cabinet doors looking flawless.
Why a Dedicated Cabinet Door Painting Hanger Matters
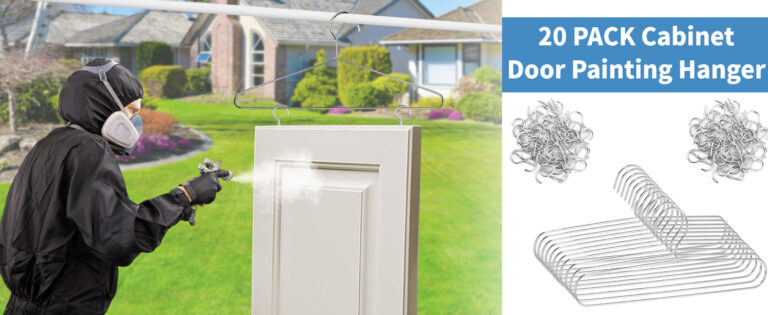
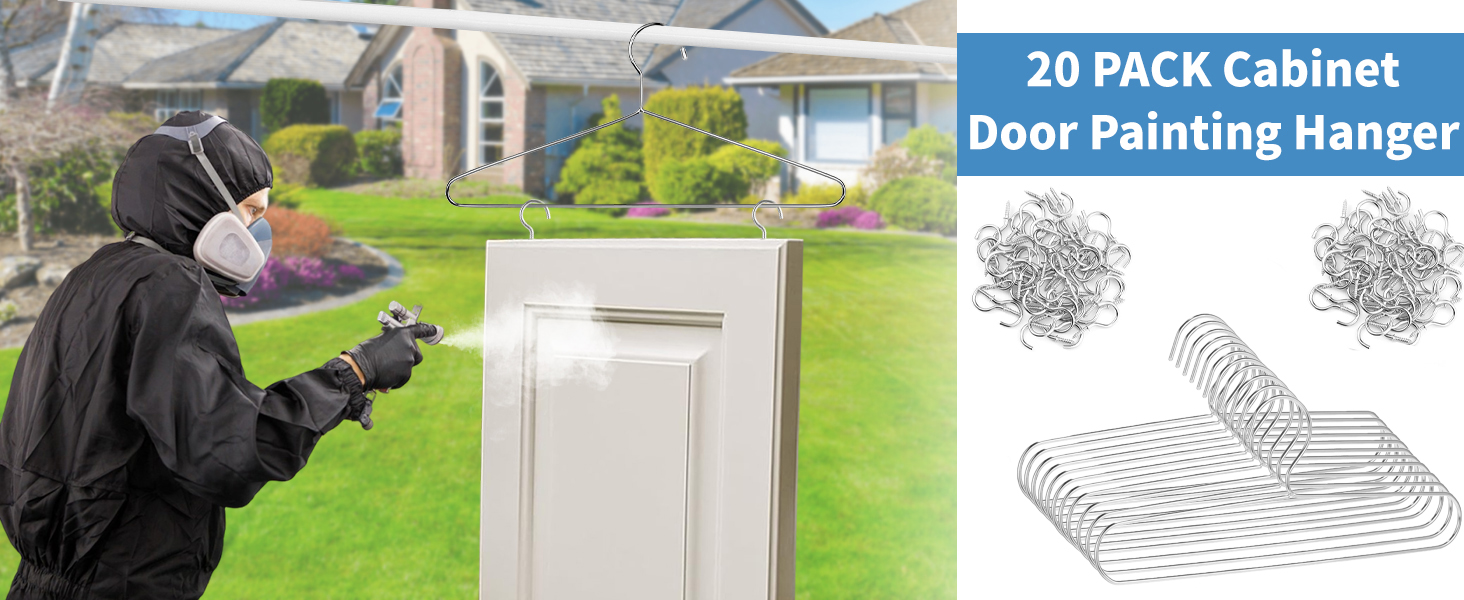
A cabinet door painting hanger is a simple but highly effective accessory. It typically consists of a hook, strap, or bracket system that suspends a door above the floor so you can paint both sides and edges without waiting for one side to dry completely. This is especially useful for shaker-style doors, raised-panel doors, and doors with detailed moldings where paint can pool or drip if the panel lies flat.
By hanging doors vertically, you allow gravity to help the paint flow evenly. You also reduce the risk of dust, debris, and accidental contact with the wet surface. Many hangers are adjustable, which means they can accommodate different door widths and thicknesses. Some models attach to a standard ladder, while others mount to a wall rack or a freestanding frame.
- Better access: Paint edges, faces, and recessed panels without flipping the door too soon.
- Cleaner finish: Vertical drying helps prevent runs and pooling.
- Space savings: Hanging doors uses vertical space instead of cluttering the floor.
Choosing the Right Paint Drying Rack
A paint drying rack is the backbone of an organized painting project. It provides a stable framework where multiple cabinet doors, drawers, and shelves can dry simultaneously. The best racks are adjustable, corrosion-resistant, and easy to move. Look for models that can hold doors of different sizes without wobbling, because stability is critical when you are working with wet paint.
There are two main styles to consider. Freestanding racks are portable and ideal for garages, workshops, or temporary painting areas. Wall-mounted racks save floor space and are excellent for small shops or basements. Some racks use horizontal bars with adjustable brackets, while others use a ladder-like design. If you plan to paint many doors at once, choose a rack with enough capacity and spacing to prevent doors from touching.
Pro tip: Keep at least 4 to 6 inches between drying doors. Good airflow is just as important as a good paint formula.
Painting Brackets: Small Tools with Big Impact
Painting brackets are the connectors that make hanging and drying systems practical. They hold doors securely in place, often by gripping the top and bottom edges or by supporting the door through the hinge holes. Good brackets should be padded or coated to prevent scratches and pressure marks. They should also be easy to adjust, since cabinet doors vary in thickness and style.
Some painting brackets are designed to fit directly onto a drying rack, while others work with a ladder or a custom-built frame. If you are painting doors with delicate details or a fresh clear coat, choose brackets with soft rubber or foam contact points. This small detail can mean the difference between a smooth finish and a costly repair.
Key Features to Look For
- Adjustability: Look for brackets that fit different door widths and thicknesses.
- Secure grip: The door should stay in place while you paint and while it dries.
- Protective padding: Rubber or foam surfaces help prevent scratches.
- Durable construction: Steel, aluminum, and heavy-duty plastic are good choices.
- Easy setup: Tool-free adjustments save time on busy painting days.
Setting Up an Efficient Painting Workspace
Start by removing the cabinet doors and labeling each one so you know exactly where it belongs. Remove hardware, hinges, and handles, then clean and sand the surfaces before painting. Set up your drying rack in a well-ventilated area away from direct sunlight, dust, and heavy foot traffic. Attach the painting brackets to the rack or hanger, then mount the first door securely.
Work in batches. Paint one side and the edges, then allow the door to dry before flipping or rotating it. A cabinet door painting hanger makes this easier because you can often paint both sides in one session without laying the door flat. Keep a small notebook or use painter’s tape to track which doors have been painted, which side is dry, and which doors still need a second coat.
Safety and Maintenance Tips
Always check that the rack and brackets are rated for the weight of your doors. A heavy solid-wood door can strain lightweight equipment, so use a system with a strong base and secure locking mechanisms. Keep the workspace dry and free of tripping hazards, and wear eye protection when sanding or spraying. After each project, clean paint buildup from brackets and rack contact points so they continue to grip safely and protect future finishes.
With the right cabinet door painting hanger, paint drying rack, and painting brackets, you can turn a messy, time-consuming job into a controlled and efficient process. These tools protect your work, improve your finish, and help you move through a cabinet painting project with confidence.
About the Author